The first time I tasted authentic chicken karaage at a tiny izakaya in Tokyo, I knew I had to learn how to make chicken karaage at home. That perfect combination of shatteringly crispy coating and impossibly juicy meat seemed like pure magic. After three years of testing different techniques, marinades, and frying methods, I have perfected a recipe that consistently delivers restaurant-quality results.
Karaage is one of Japan’s most beloved comfort foods. This Japanese fried chicken appears everywhere from convenience stores to high-end restaurants. Mastering this dish will give you a go-to recipe for family dinners, party appetizers, or midnight snacks that never fails to impress.
In this guide, I will share everything I have learned about making authentic karaage at home. You will discover the best chicken cuts, the essential marinade ingredients, and the double frying technique that creates that signature crunch. I will also include troubleshooting tips based on real problems home cooks face, plus storage and reheating methods to keep your leftovers crispy.
Table of Contents
What is Karaage?
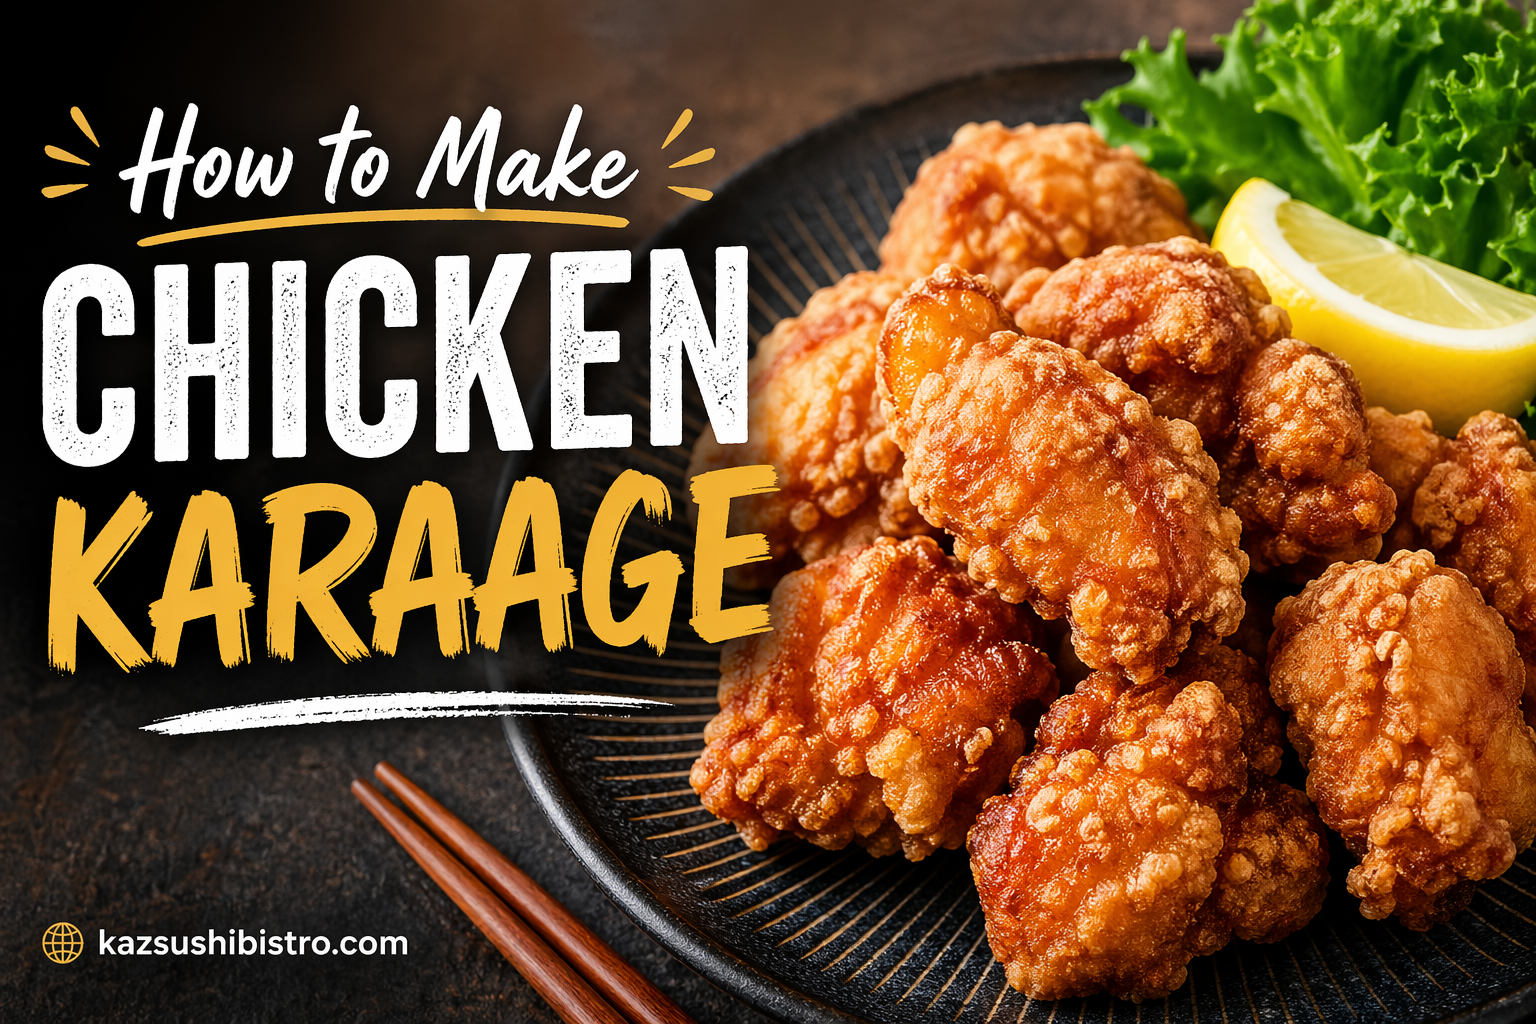
Karaage refers to a Japanese cooking technique where meat, typically chicken, is marinated and then coated in starch or flour before being deep-fried. The word itself combines “kara” (empty) and “age” (fried), though the exact origin of the name remains debated among food historians. Unlike tempura which uses a batter, karaage relies on a dry coating that creates a uniquely crispy texture.
The most common version, called tori no karaage, uses chicken thighs marinated in a mixture of soy sauce, ginger, and garlic. The meat absorbs deep savory flavors before frying, creating layers of taste in every bite. This cooking method dates back over 1,000 years in Japan, with influences from Chinese frying techniques that evolved into something distinctly Japanese.
Today, you will find karaage in bento boxes, at festivals, in convenience stores, and as a staple at izakaya pubs across Japan. Each region has developed slight variations, from the seasoning blends to the choice of coating starch. What remains consistent is that addictive contrast between the crackling exterior and the tender, juicy meat inside.
How to Make Chicken Karaage 2026
Making authentic chicken karaage requires three essential phases: preparing the right chicken with proper marinade, coating in starch for texture, and executing the double frying technique. Each step builds on the previous one to create that signature result. Follow these instructions carefully, and you will achieve karaage that rivals the best Japanese restaurants.
Ingredients You’ll Need
Gathering quality ingredients makes a noticeable difference in your final karaage. I recommend boneless, skin-on chicken thighs for the best balance of flavor and moisture retention. The skin renders during frying, adding richness while helping the coating adhere properly.
For the chicken and marinade:
- 1.5 lbs (700g) boneless, skin-on chicken thighs, cut into 2-inch pieces
- 2 tablespoons soy sauce
- 2 tablespoons sake (or dry sherry as substitute)
- 1 tablespoon mirin
- 1 tablespoon sesame oil
- 1 tablespoon fresh ginger, grated
- 2 cloves garlic, grated
- 1/2 teaspoon white pepper
- 1/4 teaspoon salt
For the coating:
- 1 cup potato starch (katakuriko) – preferred for extra crispiness
- OR 1 cup cornstarch as a widely available substitute
- OR 1/2 cup all-purpose flour mixed with 1/2 cup cornstarch
For frying:
- Neutral oil with high smoke point (vegetable, canola, or peanut oil)
- Approximately 4 cups oil for a standard pot or deep fryer
The coating choice significantly affects your final texture. Potato starch, known as katakuriko in Japanese, creates the crispiest coating that stays crunchy longer. Cornstarch produces excellent results and is easier to find in most grocery stores. All-purpose flour creates a slightly thicker, more traditional coating that some home cooks prefer.
Marinating the Chicken
Proper marination infuses the chicken with the signature umami flavor that defines karaage. The marinade also tenderizes the meat and adds moisture that keeps the interior juicy even after frying. Do not skip this step or rush it.
Step 1: Prepare the chicken.
Cut your chicken thighs into 2-inch pieces, keeping the skin on. The pieces should be roughly equal in size so they cook evenly. I recommend cutting against the grain of the meat for more tender bites.
Step 2: Pierce the chicken with a fork.
This optional but recommended step helps the marinade penetrate deeper into the meat. Make 3-4 shallow stabs on each piece of chicken. This technique ensures every bite carries the full flavor profile.
Step 3: Mix the marinade.
In a large bowl, combine the soy sauce, sake, mirin, sesame oil, grated ginger, grated garlic, white pepper, and salt. Whisk until the salt dissolves completely. The aroma should be pungent and inviting, a preview of the flavors to come.
Step 4: Marinate the chicken.
Add the chicken pieces to the marinade and toss until every piece is evenly coated. Cover the bowl with plastic wrap and refrigerate for 30 minutes to 1 hour. Do not marinate longer than 1 hour, as the salt can draw out moisture and make the meat tough.
Step 5: Drain before coating.
Remove the chicken from the refrigerator and let excess marinade drip off. You want the surface slightly damp but not dripping wet. Too much moisture prevents the coating from adhering properly.
The Double Frying Technique
The double frying method separates good karaage from exceptional karaage. This technique, used by professional Japanese chefs, creates the ultra-crispy coating that stays crunchy even after the chicken cools. Understanding why this works will help you execute it perfectly.
The Science Behind Double Frying
The first fry cooks the chicken through while setting the coating. The second fry at a higher temperature drives out any remaining moisture in the coating, creating that glass-like shatter when you bite. This two-stage approach also prevents the common problem of burnt coating with raw chicken inside.
Prepare for frying:
Pour oil into a heavy-bottomed pot or deep fryer until it reaches 2-3 inches deep. Heat the oil to 325F (160C) for the first fry. Use a thermometer for accuracy, or test with a chopstick. When small bubbles form steadily around the submerged chopstick, the oil is ready.
While the oil heats, coat your chicken. Place the starch in a large bowl and dredge each piece thoroughly, shaking off excess. The coating should be even but not caked on thick. Set coated pieces on a plate and let them rest for 5 minutes before frying. This resting period helps the coating adhere better.
First fry (325F/160C for 90 seconds):
Carefully lower 6-8 pieces of coated chicken into the oil. Do not overcrowd the pot, as this drops the oil temperature and creates soggy karaage. Fry for 90 seconds until the coating sets but remains pale. Remove to a wire rack to drain. The chicken will not be fully cooked at this stage.
Let the chicken rest for 3-4 minutes between fries. This resting period allows residual heat to continue cooking the interior while the coating firms up.
Second fry (350F/180C for 60-90 seconds):
Increase the oil temperature to 350F (180C). Fry the rested chicken pieces in batches for 60-90 seconds until deeply golden brown and crispy. The coating should look almost glassy and crackle audibly when tapped. Transfer immediately to a wire rack, never paper towels.
Paper towels trap steam against the coating, making it soggy within minutes. A wire rack allows air circulation so your karaage stays crispy for up to an hour after frying.
Troubleshooting Common Problems
Even experienced cooks encounter issues when learning how to make chicken karaage. Here are solutions to the most common problems based on real feedback from home cooks and my own testing failures.
Why does my batter fall off during frying?
Coating that separates from the chicken usually indicates excess moisture or oil that is too cool. Make sure to drain marinated chicken well before coating. Let coated chicken rest 5 minutes before frying so the starch can hydrate and adhere. Also verify your oil temperature with a thermometer.
Why is my karaage soggy instead of crispy?
Sogginess typically results from overcrowding the pot, oil temperature drops, or improper draining. Fry in small batches to maintain oil temperature. Never stack hot karaage or place it on paper towels. A wire rack is essential for crispy results.
Why is the chicken burnt outside but raw inside?
This happens when the oil is too hot or the chicken pieces are too large. Cut chicken into uniform 2-inch pieces. Maintain proper oil temperatures: 325F for first fry, 350F for second fry. The double frying method specifically solves this problem.
How do I know when karaage is fully cooked?
Properly cooked karaage reaches an internal temperature of 165F (74C). The juices should run clear when you pierce the thickest piece. The coating should be deep golden brown and sound hollow when tapped gently.
Can I make karaage without a thermometer?
Yes, though a thermometer provides consistency. For the first fry, drop a piece of coated chicken into the oil. It should sizzle gently and take about 90 seconds to turn light golden. For the second fry, the oil should bubble vigorously around the chicken immediately. Always err on the side of slightly cooler oil to prevent burning.
What to Serve with Karaage
Karaage shines as a standalone dish but becomes a complete meal with the right accompaniments. Traditional Japanese serving styles offer guidance, but feel free to adapt based on what you enjoy.
Classic dipping sauces:
Kewpie mayonnaise mixed with a dash of soy sauce or Japanese karashi mustard creates the classic dipping combination. Ponzu sauce adds bright citrus notes that cut through the richness. For a spicy kick, mix mayonnaise with sriracha or shichimi togarashi (Japanese seven-spice).
Traditional side dishes:
Shredded cabbage with a light sesame dressing is the quintessential karaage companion. Steamed Japanese rice balances the meal perfectly. A small bowl of miso soup rounds out a traditional teishoku (set meal) presentation. Pickled vegetables provide acidic contrast to the fried chicken.
Modern serving ideas:
Stuff karaage into onigiri rice balls for a portable lunch. Top a bowl of rice with karaage, shredded cabbage, and sauce for a karaage don rice bowl. Add to bento boxes with cherry tomatoes and broccoli for a complete packed lunch. Serve alongside cold beer or highball cocktails for authentic izakaya vibes at home.
Storage and Reheating Tips
Fresh karaage is unbeatable, but leftovers can still be delicious with proper storage and reheating techniques. The goal is preserving that crispy coating while safely storing the cooked chicken.
Refrigeration:
Store cooled karaage in an airtight container in the refrigerator for up to 3 days. Place paper towels in the container to absorb excess moisture. Do not stack pieces directly on top of each other.
Freezing:
Karaage freezes well for up to 1 month. Freeze pieces in a single layer on a baking sheet first, then transfer to a freezer bag. This prevents pieces from sticking together. Thaw overnight in the refrigerator before reheating.
Reheating methods:
The oven or toaster oven works best for restoring crispiness. Bake at 375F (190C) for 8-10 minutes until heated through and crispy. An air fryer at 350F (175C) for 5-6 minutes also produces excellent results. Avoid microwaving, which makes the coating rubbery and tough.
Frequently Asked Questions
How do they make karaage chicken?
Karaage chicken is made by marinating bite-sized chicken pieces in a mixture of soy sauce, ginger, and garlic, then coating them in potato starch or flour and deep-frying twice at different temperatures. The double frying creates an ultra-crispy exterior while keeping the inside juicy and tender.
What is the batter made of for Chicken Karaage?
Traditional karaage does not use a wet batter. Instead, marinated chicken is dredged in dry potato starch (katakuriko) or cornstarch before frying. Some recipes use a combination of all-purpose flour and cornstarch for a slightly different texture. The dry coating creates the signature crispy, crackling exterior.
What cut of chicken is used for karaage?
Boneless, skin-on chicken thighs are the preferred cut for karaage. The dark meat stays juicy during high-heat frying, and the skin renders to add flavor and help the coating adhere. Chicken breast can be used but requires careful timing to prevent drying out.
What is karaage marinated in?
Karaage is marinated in a mixture of soy sauce, sake, mirin, sesame oil, grated fresh ginger, grated garlic, white pepper, and salt. This combination creates the savory, aromatic flavor profile that defines authentic Japanese fried chicken.
What is the secret to crispy karaage?
The secret to crispy karaage is the double frying technique: first at a lower temperature (325F/160C) to cook the chicken through, then at a higher temperature (350F/180C) to drive out moisture and create a glassy, ultra-crispy coating. Using potato starch and draining on a wire rack also maintains crispiness.
Is chicken karaage supposed to be crunchy?
Yes, authentic chicken karaage should have a crunchy, crispy coating that audibly crackles when you bite into it. The coating should shatter like glass while the meat inside remains tender and juicy. This contrast in textures is what makes karaage so addictive.
How long should I fry karaage?
For the first fry, cook karaage at 325F (160C) for 90 seconds. After resting 3-4 minutes, fry again at 350F (180C) for 60-90 seconds until deep golden brown and crispy. Total frying time is approximately 2.5 to 3 minutes plus resting time.
Why is karaage fried twice?
Karaage is fried twice because the first fry cooks the chicken through while setting the coating, and the second fry at higher temperature drives out remaining moisture to create an ultra-crispy exterior. This two-stage method prevents burning while achieving maximum crunch.
Conclusion
Learning how to make chicken karaage at home opens up a world of crispy, juicy Japanese comfort food that you can enjoy anytime. The combination of proper marinating, quality ingredients, and the double frying technique produces results that rival any restaurant. This recipe has become a staple in my kitchen, requested repeatedly by family and friends who cannot get enough of that signature crunch.
Start with boneless, skin-on thighs and do not rush the marination process. Respect the oil temperatures and trust the double frying method even if the chicken looks pale after the first fry. Drain on a wire rack, serve immediately, and prepare for the amazed reactions when people taste your homemade karaage.
Once you master this foundational recipe, experiment with different dipping sauces and serving styles. Make karaage don rice bowls for lunch, pack them in bento boxes, or serve them izakaya-style with cold beer and friends. However you enjoy it, you now have the knowledge to make authentic Japanese fried chicken that delivers perfect results every time.