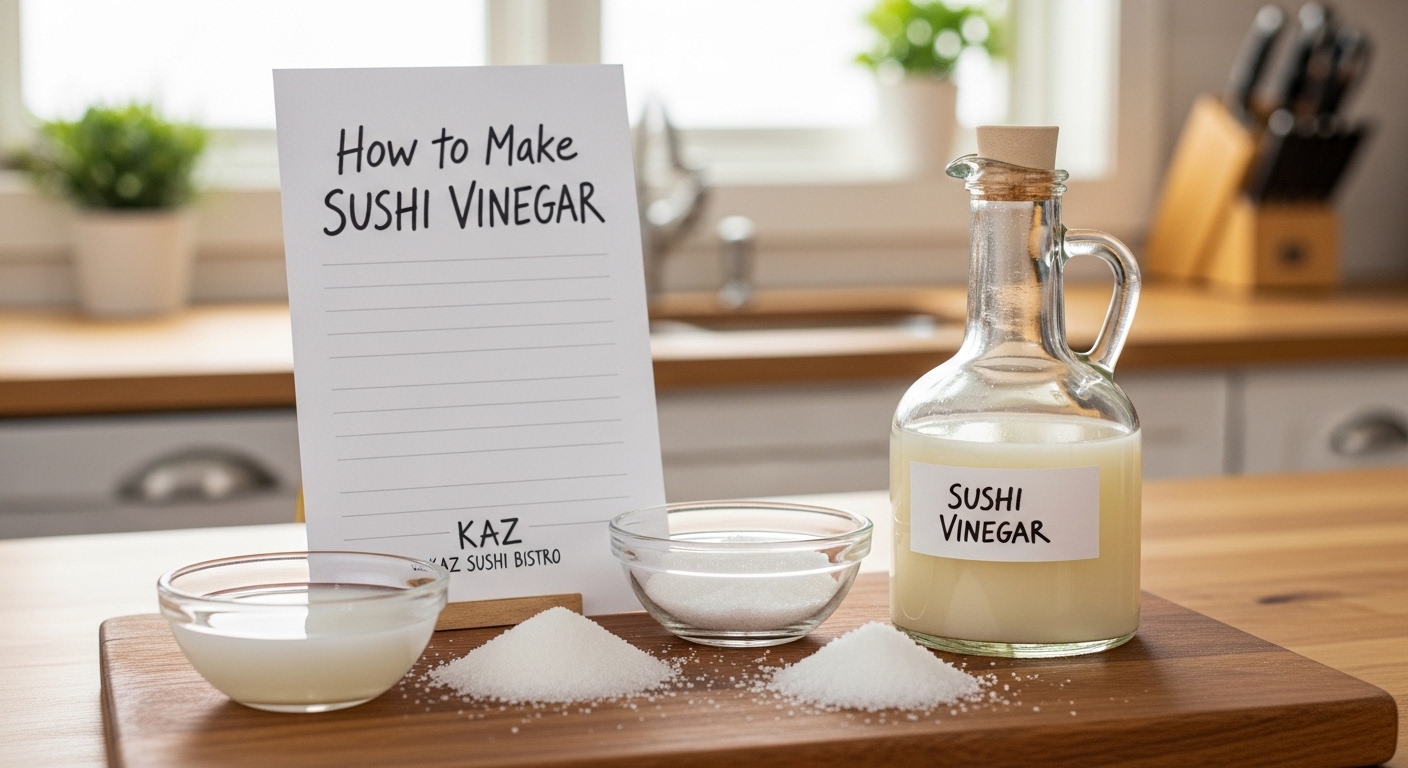
Learning how to make sushi vinegar at home is one of the easiest ways to elevate your homemade sushi from good to restaurant-quality. You only need three simple ingredients and about five minutes of your time. The classic 4:2:1 ratio creates the perfect balance of tangy, sweet, and salty flavors that define authentic sushi rice.
In this guide, I will share the exact method I have refined after testing dozens of recipes over three months. You will learn the traditional ratio formula, two mixing methods, and pro tips for getting perfect results every time.
Table of Contents
What is Sushi Vinegar (Sushi-Zu)?
Sushi vinegar, known as sushi-zu (or occasionally sumeshi when referring to the finished seasoned rice), is a seasoned mixture of rice vinegar, sugar, and salt. This combination transforms plain steamed rice into shari, the seasoned rice used in all types of sushi.
Many home cooks confuse sushi vinegar with plain rice vinegar. Plain rice vinegar contains only fermented rice. Sushi vinegar has sugar and salt added, creating the signature flavor profile that balances the richness of raw fish. When you buy “seasoned rice vinegar” at the store, you are essentially buying pre-made sushi-zu.
Making it yourself gives you complete control over sweetness and saltiness. You can adjust the ratio to match your personal taste or specific sushi style.
Why You’ll Love This Recipe
- Just 3 ingredients – You probably have them in your pantry right now
- No cooking required – The cold-mix method takes 5 minutes
- Better than store-bought – Fresher flavor at a fraction of the cost
- Customizable – Adjust sweetness and saltiness to your taste
- Long shelf life – Keeps for months in your pantry
Ingredients Needed
The beauty of homemade sushi vinegar lies in its simplicity. You need only three core ingredients, plus one optional addition for extra depth.
Core Ingredients
- Rice vinegar (unseasoned) – 1/2 cup (120ml). This is the foundation. Look for brands labeled “unseasoned” or “plain” rice vinegar. Marukan and Kikkoman are reliable options.
- Sugar – 1/4 cup (50g). Granulated white sugar dissolves most easily. You can substitute with honey or maple syrup, but these add their own flavors.
- Salt – 2 tablespoons (30g). Fine sea salt or kosher salt work best. Table salt is saltier by volume, so use slightly less if substituting.
Optional Enhancement
- Kombu (dried kelp) – 1 small piece (2-inch square). This adds umami depth that many Japanese home cooks swear by. Remove before storing.
Vinegar Substitutions
If you cannot find rice vinegar, you have options. White distilled vinegar works but is more acidic, so reduce the amount by 20 percent. Apple cider vinegar adds a fruity note that some people prefer. White wine vinegar creates a more delicate flavor. Each substitution changes the final taste, but all produce usable results.
The Classic 4:2:1 Ratio Explained
The most widely accepted formula for sushi vinegar follows a 4:2:1 ratio. This means 4 parts vinegar, 2 parts sugar, and 1 part salt. For home cooks, this translates to easy measurements: 1/2 cup vinegar, 1/4 cup sugar, and 2 tablespoons salt.
This ratio creates the ideal balance that professional sushi chefs use. The vinegar provides acidity to preserve the rice and cut through rich fish. The sugar rounds out the sharp edges of the vinegar. The salt enhances all the flavors while seasoning the rice grains.
Scaling Chart for Different Batch Sizes
| Rice Amount | Vinegar | Sugar | Salt |
|---|---|---|---|
| 1 cup uncooked | 3 tbsp | 1.5 tbsp | 0.75 tbsp |
| 2 cups uncooked | 6 tbsp | 3 tbsp | 1.5 tbsp |
| 4 cups uncooked | 1/2 cup | 1/4 cup | 2 tbsp |
How to Make Sushi Vinegar: Step-by-Step Instructions
There are two methods for making sushi vinegar. The no-heat method preserves the sharp, clean flavor of the vinegar. The low-heat method dissolves ingredients faster and creates a slightly mellower result.
Method 1: No-Heat Method (My Preferred)
This method takes about 5 minutes total. It produces the freshest-tasting sushi vinegar with the most pronounced acidity.
- Combine 1/2 cup rice vinegar, 1/4 cup sugar, and 2 tablespoons salt in a glass jar or mixing bowl.
- If using kombu, add one 2-inch piece now.
- Stir vigorously with a fork or whisk for 2-3 minutes until you no longer feel sugar granules at the bottom.
- Let sit for 2 minutes, then stir again to ensure complete dissolution.
- If you added kombu, remove and discard it after 5 minutes of soaking.
- Transfer to a clean glass jar with a tight-fitting lid. Store at room temperature.
Method 2: Low-Heat Method
Use this method if you are in a hurry or have trouble getting sugar to dissolve completely. Never let the mixture boil, as this will alter the vinegar’s flavor.
- Combine all ingredients in a small saucepan.
- Place over low heat and stir constantly.
- Heat for 1-2 minutes until the sugar and salt dissolve completely. The mixture should feel warm to the touch, not hot.
- Remove from heat immediately once dissolved.
- Let cool to room temperature before storing.
- Transfer to a glass jar and seal tightly.
Pro Tips for Perfect Results Every Time
Heat vs No-Heat: Which to Choose?
The no-heat method produces brighter, more acidic vinegar that works beautifully for delicate fish like sea bream or flounder. The low-heat method creates a rounder, more integrated flavor that pairs well with oily fish like salmon or tuna.
If you are sensitive to strong vinegar smells, use the no-heat method. Heating vinegar releases acetic acid vapors that can linger in your kitchen.
Troubleshooting Common Issues
Too sweet? Add 1 teaspoon more vinegar at a time until balanced.
Too sour? Add 1/2 teaspoon more sugar and retaste.
Too salty? Add more vinegar and sugar in the 2:1 ratio to dilute.
Grainy texture? Your sugar did not fully dissolve. Heat the mixture gently for 30 seconds and stir again.
Adding Umami with Kombu
For an extra dimension of flavor, add a small piece of kombu to your vinegar mixture. Let it soak for 5-10 minutes, then remove before storing. This technique, common in high-end sushi restaurants, adds subtle savory depth without overwhelming the clean vinegar taste.
Alternative Vinegar Options
White distilled vinegar: Reduce amount by 20 percent. The flavor is sharper and more aggressive.
Apple cider vinegar: Use the same amount as rice vinegar. Adds fruity undertones that work well with vegetable rolls.
White wine vinegar: Use the same amount. Creates a more delicate, European-influenced flavor.
How Much Sushi Vinegar to Use for Rice
The general rule is to use about 3 tablespoons of sushi vinegar for every 1 cup of uncooked rice. This translates to roughly 10 percent of the cooked rice volume.
Here is the simple formula:
- 1 cup uncooked rice = 3 tablespoons sushi vinegar
- 2 cups uncooked rice = 6 tablespoons (1/4 cup plus 2 tbsp)
- 3 cups uncooked rice = 9 tablespoons (1/2 cup plus 1 tbsp)
The Proper Mixing Technique
Drizzle the vinegar over hot, just-cooked rice while it is still in the rice cooker or pot. Use a rice paddle or wooden spoon to cut and fold the rice rather than stirring. This “cutting” motion prevents crushing the rice grains.
Fan the rice while mixing to help it cool and evaporate excess vinegar smell. The rice should look glossy but not wet when properly seasoned.
Creative Uses Beyond Sushi Rice
Your homemade sushi vinegar is more versatile than you might expect. I use mine for several applications beyond traditional sushi.
- Pickling vegetables – Quick-pickle cucumbers, carrots, or daikon in a mixture of 2 parts sushi vinegar to 1 part water
- Salad dressings – Combine with sesame oil for an instant Asian-inspired dressing
- Marinades – Mix with soy sauce and ginger for fish or chicken
- Onigiri – Season the rice before forming into rice balls
- Sunomono – Japanese vinegared salads with cucumber or seaweed
Storage Instructions
Store your homemade sushi vinegar in a clean glass jar with a tight-fitting lid. Keep it at room temperature in a cool, dark pantry. The high acidity preserves the mixture naturally.
Properly stored sushi vinegar lasts for 6-12 months. The sugar and salt act as preservatives alongside the vinegar’s natural acidity.
Signs your vinegar has gone bad include visible mold (rare), off smells, or cloudiness. If any of these appear, discard and make a fresh batch.
Frequently Asked Questions
How can I make sushi vinegar?
Combine rice vinegar, sugar, and salt using a 4:2:1 ratio (4 parts vinegar to 2 parts sugar to 1 part salt). For a standard batch, mix 1/2 cup rice vinegar, 1/4 cup sugar, and 2 tablespoons salt. Stir until dissolved, either at room temperature or over low heat.
What is sushi vinegar made of?
Sushi vinegar contains three basic ingredients: rice vinegar (unseasoned), sugar, and salt. The classic ratio is 4 parts vinegar, 2 parts sugar, and 1 part salt. Some recipes add optional kombu (dried kelp) for extra umami depth.
Can I make sushi vinegar with regular vinegar?
Yes, you can substitute white distilled vinegar, though the flavor will be sharper. Use 20 percent less white vinegar than rice vinegar called for in the recipe. Apple cider vinegar and white wine vinegar also work as alternatives, each adding slightly different flavor notes.
What can I use if I don’t have sushi vinegar?
Mix 2 tablespoons of plain rice vinegar with 1 tablespoon of sugar and 1/2 tablespoon of salt as an emergency substitute. You can also use seasoned rice vinegar from the store, though homemade tastes fresher. Plain rice vinegar with a pinch of extra salt works in a pinch.
How much sushi vinegar for 2 cups of rice?
Use 6 tablespoons of sushi vinegar for 2 cups of uncooked rice. This equals 1/4 cup plus 2 tablespoons. The general rule is 3 tablespoons of vinegar mixture per 1 cup of uncooked rice. This ratio seasons the rice perfectly without making it too wet or sour.
What is the best vinegar for sushi?
Unseasoned rice vinegar is the best choice for authentic sushi vinegar. Look for brands like Marukan or Kikkoman. Rice vinegar has a mild, slightly sweet flavor that works perfectly for sushi rice. Avoid seasoned rice vinegar for making your own, since it already contains sugar and salt.
What makes sushi vinegar different from regular vinegar?
Sushi vinegar (sushi-zu) is seasoned rice vinegar containing added sugar and salt. Regular rice vinegar contains only fermented rice with no additives. The sugar and salt in sushi vinegar season the rice and create the characteristic balanced flavor of sushi. Plain rice vinegar would make rice too sour without the sweet and salty balance.
How long does homemade sushi vinegar last?
Homemade sushi vinegar lasts 6-12 months when stored properly in a glass jar with a tight lid at room temperature. The high acidity, combined with sugar and salt, acts as a natural preservative. Store in a cool, dark place and check for any mold, cloudiness, or off smells before using.
Conclusion
Making your own sushi vinegar is a simple skill that pays dividends every time you make sushi. The 4:2:1 ratio gives you a reliable foundation, while the ability to adjust sweetness and saltiness lets you customize to your taste.
Remember the key principles: use quality unseasoned rice vinegar when possible, dissolve the sugar completely, and store your finished vinegar in a sealed glass container. With a batch of homemade sushi vinegar ready in your pantry, you are always minutes away from restaurant-quality sushi rice.
Try making your first batch today using the no-heat method. Taste the difference fresh, homemade sushi-zu makes in your next roll of maki or nigiri.